Stepping Stones and Sea Glass
by Randy
(Cincy Ohio)
We are stained glass making experts, but this would be a great project for those who love to collect Sea Glass.
Everyone loves to have decorations in their yard. What a better way than to put your love of your yard with your love of Sea Glass.
You could put Stepping Stones anywhere in your yard- from your flower beds to add color and flair to a walk way to your favorite flower bed.
Stepping Stones are a great way to add decoration but they can also be functional. Most flower beds are wide and hard to reach the back of the bed without getting into the dirt or the mulch.
So with stepping stones you will be able to walk thru your beds and have added extra creativity.
Your love for Sea Glass would make a great stepping stone for you to have forever.
Supplies needed:
-Mold- hexagon shape or square (whatever you would like )
-Cement and water
-Design you create or a pattern
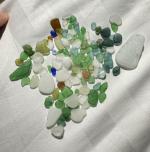
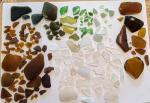
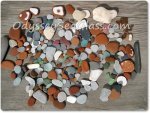
-Sea glass – all types of colors and shapes
-Popsiscle stick
-Water sealer (especially if you are going to use outside in all types of weather)
Create your pattern. It could be an abstract design or a name or special design like a flower. It could be anything you want that is special to your heart. It may depend on the type of sea glass that you have.
Just use your imagination and have fun with this project.
It’s good to put your pattern with the sea glass on a table so that you
Mix the cement and water- you will want a pasty consistency-
Pour the cement mixture into your mold- lift and lower the mold with the wet cement so that it will help remove the bubbles in the mixture.
Transfer your sea glass pieces onto the cement mold. Take the popscicle stick and push the sea glass into the mold. You want it far enough down to hold in the cement once dry but not so deep that it gets lost in the cement.
Once the sea glass has been transferred to the cement – just as you would like, let the cement dry for a total of at least 24 hours.
Remove the cement from the mold.
You may need to use a small tool, like a pick to remove some of the cement from the top of the sea glass.
The final step would be to put the water sealer on all sides of the stepping stone. It is good to put 3 coats. Let each dry before applying each coat.
You are now ready to find that perfect spot in your yard for your stepping stone.
Aren’t you proud of your work? Isn’t it beautiful? Ready to make another stone?
A great compliment to sea glass is learning how to create stained glass. It's a fun and rewarding art form that you will be sure to love.
|
|
|
| ||||
|
|
|
|
Comments for Stepping Stones and Sea Glass
|
|
Click here to add your own comments Join in and write your own page! It's easy to do. How? Simply click here to return to Crafts. |


