Display Your Beach Finds on DIY Shelves
by David Schneider
(Huanchaco Beach, Peru, South America)
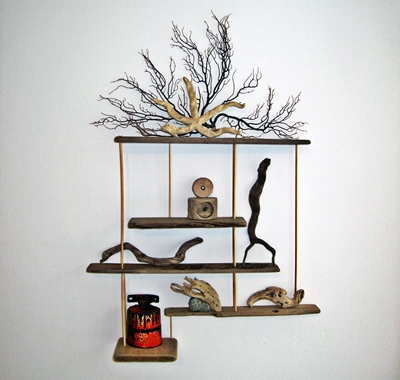
Sea Glass and Beach Finds Crafts Shelves
~ submitted by David from OdysseySeaGlass in Huanchaco, Peru, South America
Do It Yourself - or DIY Beach Finds Display
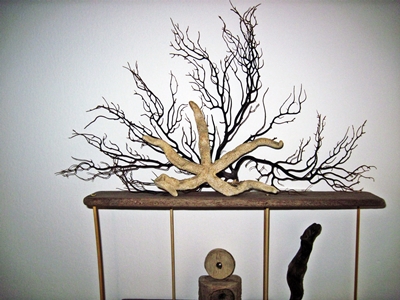
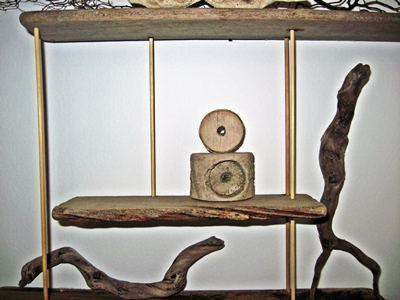
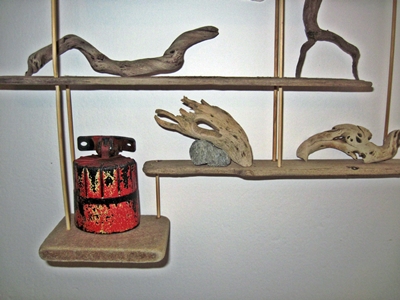
Here is another example of using driftwood and beach finds to make a creative display for your home.(To see how to make this crafts display shelf, go to our previous post - Shelves of Driftwood with Sea Glass and Beach Finds)
Find the Objects
When walking on any beach, keep your eyes open not only for sea glass but for any other kind of object that is easy to carry with you on your hike.You just never know what you'll use it for later.
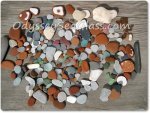
Sea glass is the #1 (and #2, #3) beach treasure we look for. In the same general categorie are ceramics, as beach pottery and tiles.
Pick up any interesting rocks (perhaps becuase they are flat, round, speckled, striped, smooth, etc).
The more you look, the more you'll start to recognize some of the minerals, especially you'll learn to identify agates.
Next keep your eyes open for driftwood.
Pieces of boards, even they are fairly new, come in really handy.Of course even more fun are the very odd-shaped pieces of old driftwood, perhaps in the shape of an animal or person you know (LOL).
If you are in an area where there is a lot of driftwood, try to get a mixture of straight and curved pieces.
Beach-stressed metal is a little harder to find, but well worth looking for.
Once you have gotten a number of metal pieces, you'll perhapsPlastic?
Yes, I thought we would never admit it, but we do pick up some plastic pieces.On the bottom shelf left of the shelves above, you'll see a plastic find. It has great colors and is a really interesting piece.
But be selective, there's a lot of bleak-looking plastic out there now.
When you get home:
Wash (and scrub with a stiff brush if necessary) your finds.You might want to dip them in a solution of bleach and water for a minute or two.
We use about 1/4 teaspoon of Clorox to 2 quarts of water for disinfecting.
After letting your objects dry, check the driftwood to see if it is damp.
If it feels damp (hold in your hand and if it feels cool, then likely it contains moisture that you should get rid of before using it in crafts).For damp driftwood, I like to put the driftwood on a cookie sheet and put it in the oven on low.
Prop the oven door open slightly with another piece of driftwood to allow free ventilation and drying and to prevent overheating.
When using the oven, I generally turn it on until the heat reaches about 200F degrees; I then turn the oven off for a half hour and do it again several times depending on how saturated the driftwood is.
Be careful not to overheat the oven - you could start a fire.
~ submitted by David from OdysseySeaGlass in Huanchaco, Peru, South America
Join in and write your own page! It's easy to do. How? Simply click here to return to Crafts.
